- 1. DIY Garden Bed
- 1.1. Materials & Tools Needed:
- 1.2. Instructions:
- 2. DIY Garden Fence
- 2.1. Materials & Tools Needed:
- 2.2. Instructions:
- 3. DIY Garden Path
- 3.1. Materials & Tools Needed:
- 3.2. Instructions:
- 4. DIY Elevated Planter Box
- 4.1. Materials & Tools Needed:
- 4.2. Instructions:
- 5. DIY Vertical Garden
- 5.1. Materials & Tools Needed:
- 5.2. Instructions:
- 6. DIY Garden Bench
- 6.1. Materials & Tools Needed:
- 6.2. Instructions:
- 7. DIY Garden Trellis
- 7.1. Materials & Tools Needed:
- 7.2. Instructions:
DIY Garden - 7 Quick Ideas to Try Out
Table of Contents [Show]
The thought of walking a few steps outside to harvest freshly grown tomatoes, peppers and cilantro and turn them into homemade pico de Gallo sounds so satisfying, so rewarding, and, not to mention, so delicious! In order to do that, however, you’ll need to build a garden. Taking care of your own garden offers many benefits from saving money and being more connected to the food you consume to improving your physical health and mental well being.
When you plant a seed and watch it flourish into something like a fruit that provides you with natural energy, you’ll begin to flourish as well. If you’ve never grown your own food, but have always wanted to, then now is your chance! Whether you’re a beginner or an expert, here are 7 quick DIY garden ideas to inspire you.
1. DIY Garden Bed
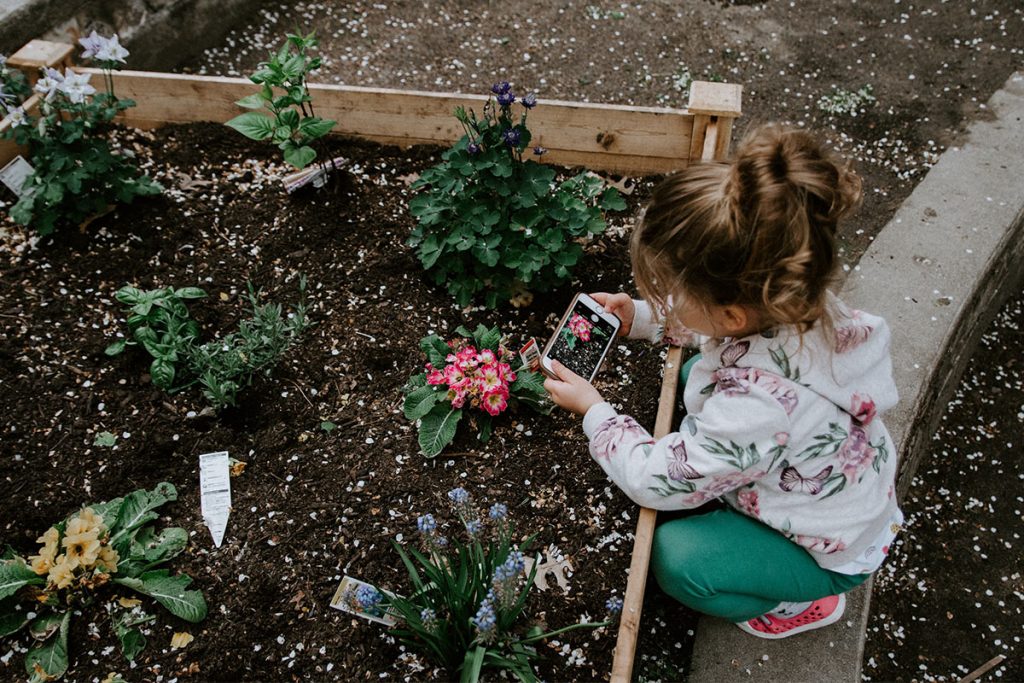
A garden bed is a great place to start for anybody that has limited space in their yard. Beds, or boxes, offer plants plenty of space to spread their roots comfortably through loose soil. It’s all up to you as to what dimensions you’d like to create for your area, but here is a basic 4-foot x 6-foot x 10.5-inch bed to get you started.
Materials & Tools Needed:
- 10 six-foot 2x4 cedar boards (cedar is a great option that will last long even if untreated)
- Circular or table saw
- Power drill
- 30-35 screws
- Clamps
- Shovel
Instructions:
- The first step is to measure and cut the length of the boards and support posts. You will need six 6-foot boards (these may be available already pre-cut in a home improvement store), six 3-foot 9-inch boards, and ten 10.5 inch support posts. If you don’t have the material for cutting wood at home you can always ask your local home improvement store for help with this step.
- The second step is to connect each side together, one at a time, so you have four finished walls. Each wall will be three-boards-high, with two sides 6 feet in length and two sides 3 feet, 9 inches in length. Start by clamping one wall together so it stays secure as you screw in the support posts. On each end of the walls, attach one support post by drilling a pilot hole first, then drilling a screw in. Four to five screws on each post should be enough. For this build you’ll need two support posts on each end of all the walls, and one support post in the middle. Six posts in total.
- Once you have the walls secure, you’ll want to choose a location that works for the plants you want to grow. Some plants prefer plenty of sunlight, while some enjoy the shade, so this part is up to you.
- When you have your location picked out, connect your walls together. The support posts should all be facing the inside, then all you need to do is connect each side by drilling pilot holes first and securing the box with screws.
- When you have your garden bed finished you can start preparing the inside area for soil. Start by removing the grass in the box with a shovel, then add wire mesh, cardboard, newspaper or fabric weed inhibitor to the bottom to help block weed growth. Finally you’ll want to fill the bed with nutrient-rich, plant-ready soil that will give life to each seed you plant.
2. DIY Garden Fence
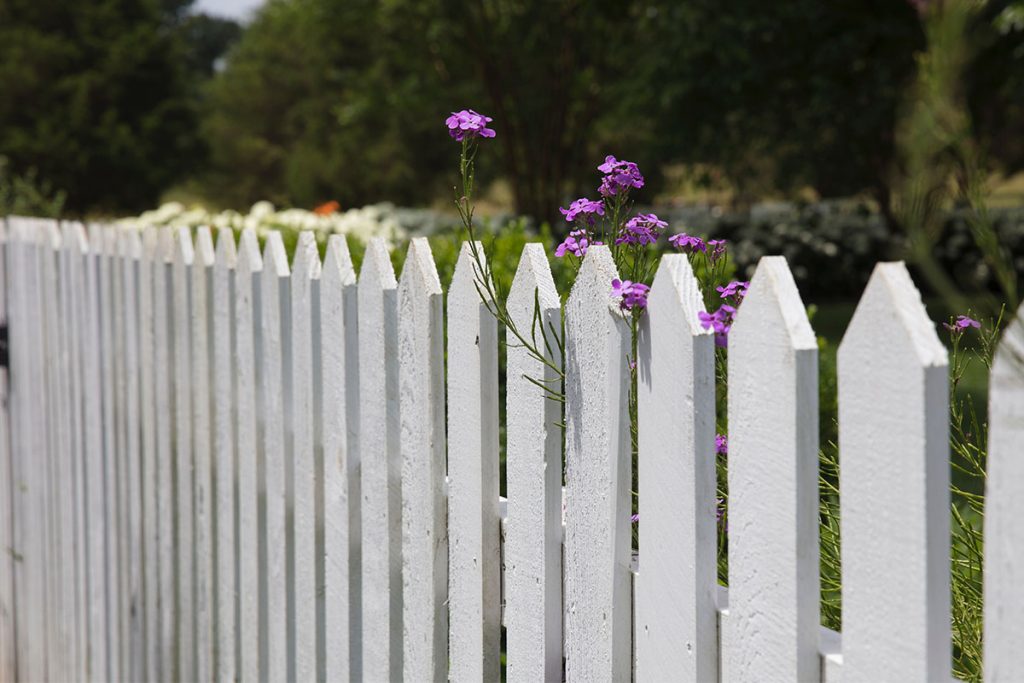
Building a fence for your garden is a great way to keep out larger animals that want to munch on all the good stuff you’ve been growing. This process requires a fair amount of work and materials, but once you have the finished product it will look great and protect your food!
For this build you’re going to need wooden poles, either treated or untreated. Treated poles will last much longer, but pressure-treated wood contains a lot of chemicals that may leech into and harm the nutrient-rich soil. Cedar is one of the better options as this is a wood that’s graded for ground contact.
Materials & Tools Needed:
(Number of fence posts and t-posts depends on the size of your fence)
- Six 8-foot Cedar 4x4 Posts
- Two to eight 2-inch x 6-inch x 8-foot Cedar boards (used for the gate)
- 100-feet of 4-foot tall Galvanized Steel Fencing
- Twenty 3-inch x 6-foot T-posts
- Hinges and latch (for gate)
- 15+ 50-lb fast setting concrete mix
- Zip ties
- Post hole digger
- Post driver
- Power drill
- Power saw
- Hammer
- Shovel
- Pick axe
- Level
- Bolt cutter
- Staple gun
Instructions:
- Once you’ve measured out the area of your fence, dig a hole at each corner. Use a post hole digger and dig about 2-3 feet deep. Place one of the posts in the hole and, before setting it with concrete, stabilize it with support braces. You can do this by screwing in two pieces of wood on two sides of the post (like a teepee) to have it stand straight.
- Use a level to make sure your pole is vertically even. Add a bag of fast-setting concrete mix into the hole and spray enough water into the mix to make it wet. In about 50 minutes it should be set. Follow steps for the other posts. You should have at least four corner posts, and then two for the frame of the entrance gate.
- Dig a trench around the entire garden, aligned with the posts. Space out your T-posts evenly between the corner posts and drive them into the ground using a post driver.
- Next, attach the fencing. Run the wire fence down into the trench so that it will add much needed protection against burrowing animals, like rabbits. Attach the fencing, using metal staples for the wooden poles and zip ties for the T-posts. Use a bolt cutter to adjust the fence to fit around the concrete at corner poles. Place and pack all the dirt back into the trench.
- The final step is to build a gate. This part is up to you, so be as creative as you want. You could use four to six pieces of recycled pallet wood, some left over wire mesh, hinges and a latch.
3. DIY Garden Path
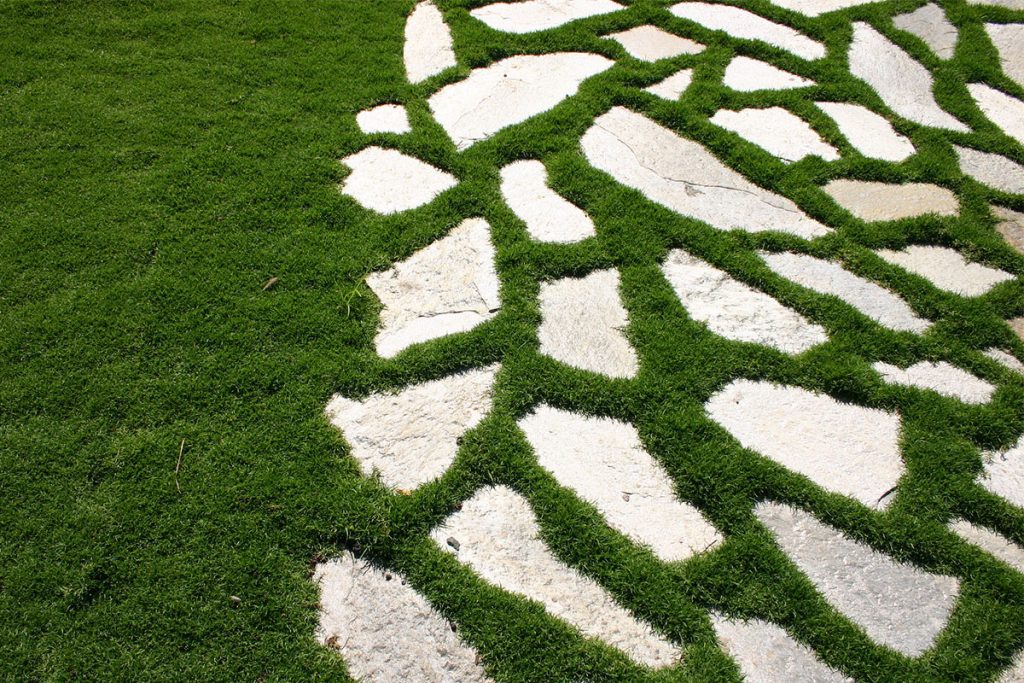
A garden path allows you to walk through your garden with ease while also creating a beautiful aesthetic. There are many materials to use for your path. The most popular are mulch, gravel or stepping stones. For this build we are going to be using a stepping stone template that is easy and inexpensive. You can use this same method to build a short path where the stones are spaced out evenly, or create a longer path where the stones are closer to each other.
Materials & Tools Needed:
- 10 - 20 flagstones (or more depending how big your path will be)
- Keyhole saw
- Trowel
- Sand
Instructions:
- First, place the stones in your yard at the exact location you want your path. Arrange the stones so that the distance from the center of one to the center of another is about 20 inches.
- Once the stones are in place, cut around them using the keyhole saw so that the shape of the stone is outlined into the ground.
- Next, you’ll want to lift up the stone and dig to a depth of 5 inches, then with your feet walk over the ground to create a flat, smooth base.
- Spread a small layer of sand (sand is much easier to work with than the loose soil) on the bottom to help with leveling the stones. Use a level to help with this process.
- Fill in the gaps with either sand, gravel or soil.
Key Tip: To liven up your stone path you can plant certain perennials that will grow into the spaces around and between each stone. Make sure they are plants that won’t be affected when stepped on, these include wooly thyme, sedum or bugleweed.
4. DIY Elevated Planter Box
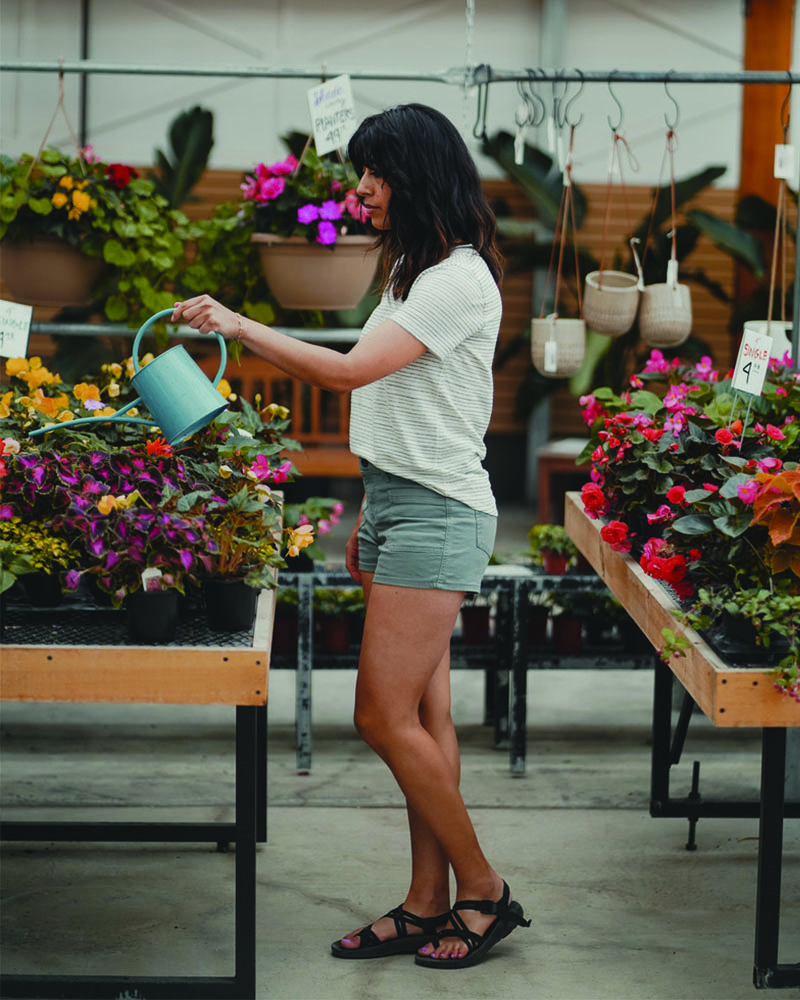
An elevated garden planter is a great option to grow plants in certain areas that would otherwise be unavailable. Popular locations include patios, decks, porches and balconies. This is also a wonderful option for those who have limited mobility. The only downside to the elevated garden planter is that because they have bottoms it means that only specific plants can grow here. When deciding what plants to grow, remember to take into consideration how much space and depth the plant needs.
Materials & Tools Needed:
- Ten 6-foot cedar boards (7.5 inches wide and 72 inches long)
- One 6-foot cedar 2x4
- 1-1/4” galvanized screws
- 1-1/2” galvanized screws
- 3” galvanized screws
- Nails
- Table saw
- Circular saw
- Power drill
- Sander
- Nail gun
Instructions:
- First, cut your cedar boards down one inch to 71 inches. Next, measure two boards together, for this build they measured 15 inches across. Now, cut four pieces of the cedar boards to 15 inches in length for the ends of the box.
- Next, create the corner blocks. Take one 2x4 to the table saw and cut it into a 2x2. Now cut this 2x2 into four 15-inch lengths. These will act as the corner blocks.
- Take two 71-inch boards and drill the corner blocks into the ends, connecting the boards. These will be the front and back of the planter box. Next, screw in the four 15-inch boards to the corner blocks, two on each side. This will create the box with four finished walls.
- Cut one cedar board into six different 1-inch strips. Four of them should be measured at a length of 30 inches and two of them measured at a length of 8 inches. Drill two of the 30-inch strips at the bottom of each front and back wall. Drill the 8-inch strips at the bottom of the side walls. Make sure you are drilling them to the inside of the box. These will be the supports of the bottom of the box.
- Measure and cut the corners of two 71-inch boards so that they fit into the corner blocks. Using a nail gun, nail the bottom boards into the support pieces. This will be the bottom of the box.
- Cut and measure more of the 2x4 into 2x2 to create a frame that will fit perfectly into the center of the box. Screw the frame in from the front, back and bottom boards. This will act as a support to help reduce any tension the box has when you pour in the soil.
- Next, cut one 71-inch board into three 32-inch boards. Then, cut into eight pieces, four measuring 2 inches wide and four measuring 1-¾ inches wide. Nail in the 1-¾ inch wide pieces to the ends of the 15” side walls (nail into the corner blocks). Nail the 2 inch wide pieces into the adjacent side into the corner blocks as well. These will be the legs of the box. Next, measure and cut 2x2’s so that they will fit inside the legs for extra support.
- Now you have an elevated planter box! You can add trimming to the top, paint it or do anything else creative to it as you’d like.
5. DIY Vertical Garden
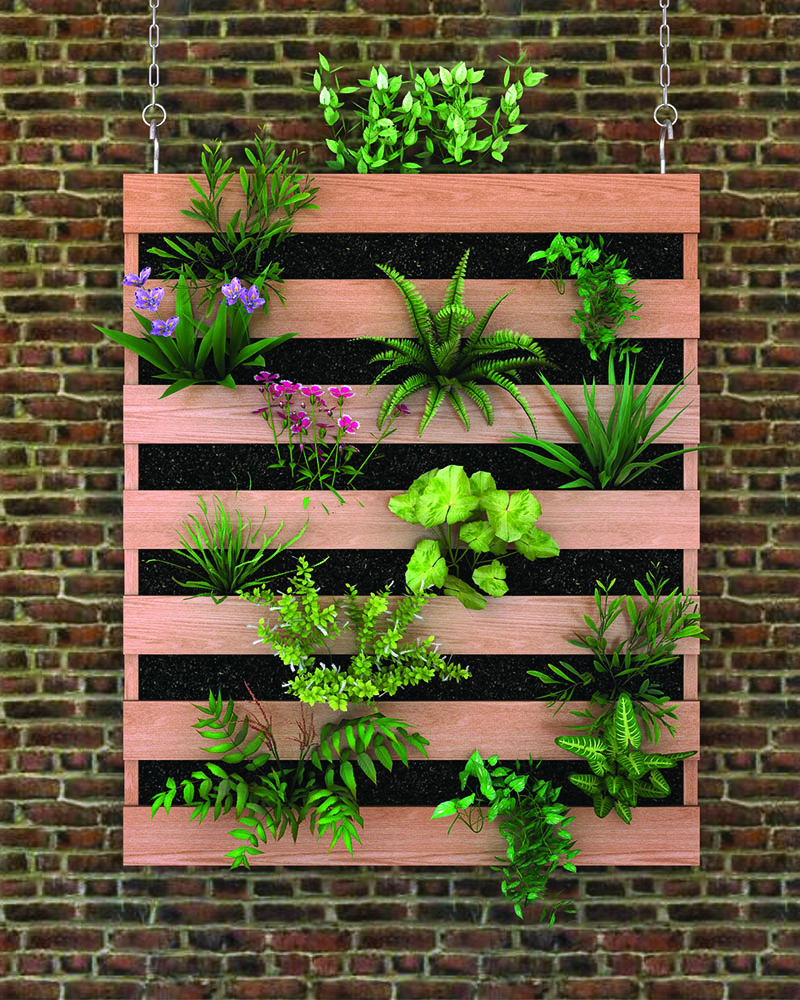
Vertical gardens are a fantastic way to open up space in your yard. You can install a vertical garden on a wall, build wooden shelves, install repurposed gutters and so much more! There are many great ideas to create your own vertical garden. This example will help you get started:
Materials & Tools Needed:
- Pallet board cut to the size you’d like
- Empty 2-liter plastic bottles
- Small screws
- Weed fabric of netting
- Soil and plants
- Sandpaper or sander
- Paint or stain
- Picture hooks and concrete nails
- Power drill
Instructions:
- First, prepare the plywood by cutting, sanding and staining it. Then you can add any hooks and test out where you’d like to hang it. You can also lean it against a wall if you don’t want to hang it.
- Next, cut off the top half of the plastic bottles that will be used to hold your plants. The size you cut them depends on what plants you’ll be growing and how much room they need for their roots.
- Attach the bottle planters using one to two screws on each bottle so the large openings are facing upwards.
- Cut a square of fabric that will cover the base of the bottle. This helps prevent soil from falling from the bottom of the planters.
- Fill the bottles with soil and plants! Attach it to a fence or wall using hooks, or simply leave it leaning against a wall.
6. DIY Garden Bench
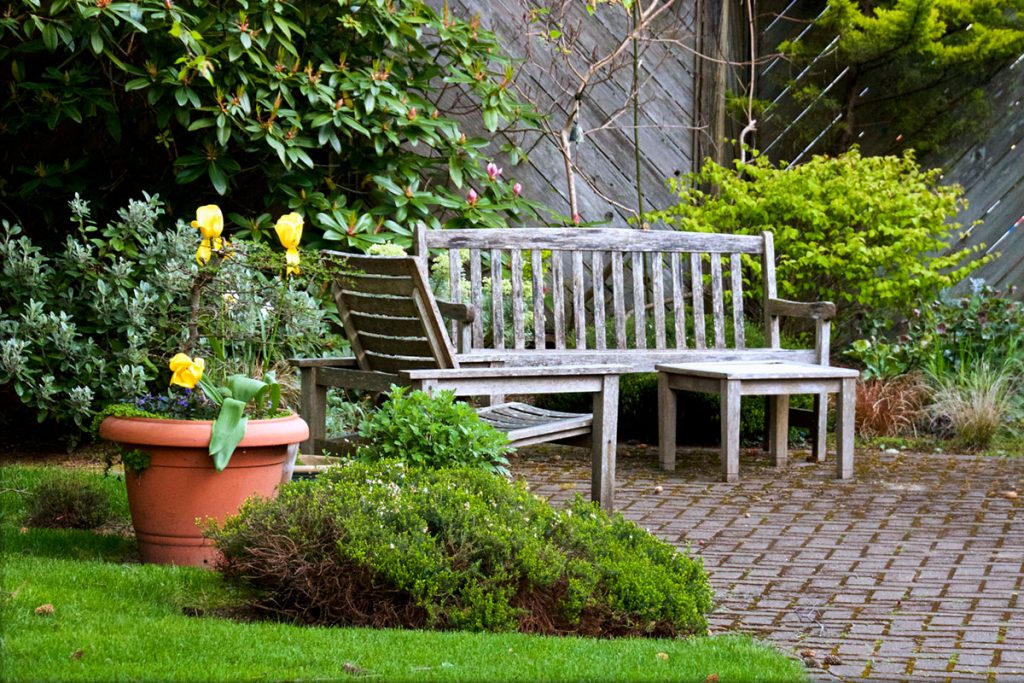
White bench in a garden. Photo by R. Miller.
A bench is a really nice addition to the garden as it allows you to sit, relax and enjoy the view. It’s also a great place to set garden tools and baskets while you're out harvesting your bounty. A bench is something that doesn’t require too much work and can be kept simple.
Materials & Tools Needed:
- Two 12-foot 1x4s
- Two 4-foot 2x3s
- 2-inch screws
- Clamps
- Power drill
- Paint or stain
- Circular saw
- Tape measure
- Sander
Instructions:
- The first step is to build the frame for the top of the bench. Begin by measuring, marking and cutting one 12-foot 1x4 into five different pieces. Two will be cut into 47-inch pieces and three will be cut into 10-inch pieces. Once cut, create a rectangle with one 10-inch piece at the center. Use corner clamps to hold the frame together while you drill two pilot holes on each corner. Apply the screws to each pilot hole. Finally screw in the centerpiece and you’ll have your frame. Now is a great time to paint or stain your frame before you begin adding any other pieces to your bench.
- The next step is to take your other 12-foot 1x4 and cut it into three 4-foot pieces. Place one of the 4-foot pieces on top of the frame with about 1/2-inch overhang on each side. Place the other two boards on top of the frame. There should be a small gap in between each board.
- Pre-drill two pilot holes on both sides of each board, but before you screw them in, make sure to stain or paint them! Once they’re stained, screw them in and the top part of the bench will be complete.
- Take the two 4-foot 2x3 posts and cut them in half so that you have four 2-foot 2x3 posts. Sand the edges to smooth them out if you’d like. These are going to be the legs for your bench.
- Flip the frame upside down and position each post into the four corners of the frame. Make two pilot holes on the side of the bed frame in each corner where the posts will be. Drill in the screws to connect to the legs, and you’ll have your very own garden bench!
7. DIY Garden Trellis
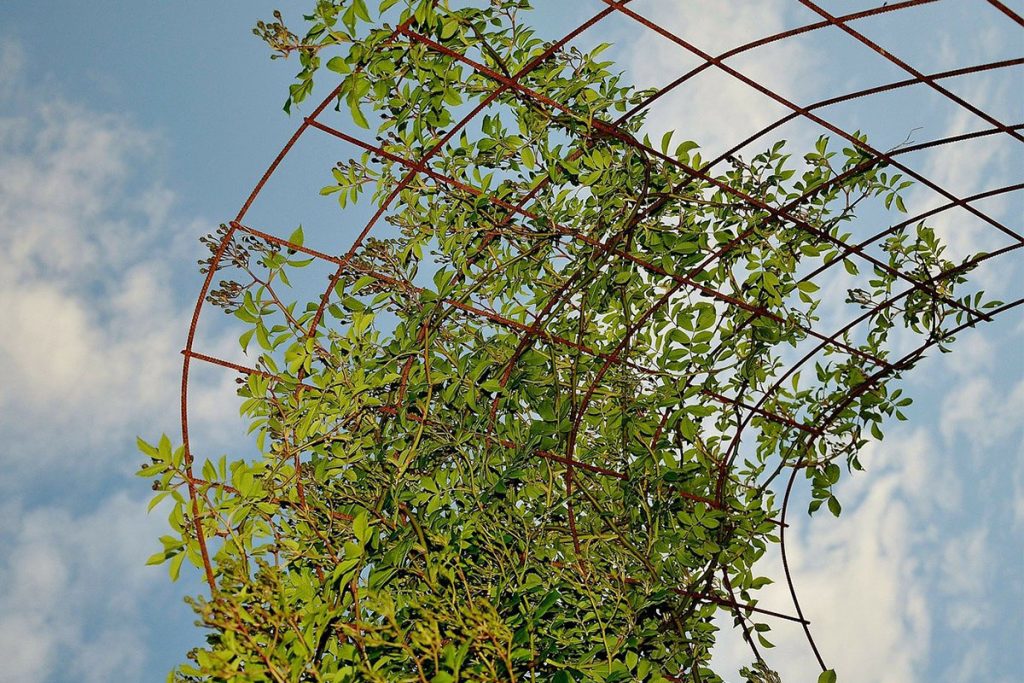
A trellis is a must-have item in your garden if you have plants that need to climb and grow vertically. Many annual vegetables actually rely on some sort of support to help them reach their true potential. A few of these plants that love to climb include cucumbers, pole beans, snap peas and snow peas. There are also plants that are not natural climbers but really enjoy the support of a trellis such as tomatoes or sweet potatoes.
Materials & Tools Needed:
- Four 8-foot 2x2 boards. Cedar is a great choice that will last a long time.
- One panel of remesh, which is a wired mesh that can be found at a local home improvement store near to the concrete section
- Two stakes
- One-inch long wide-head cabinet screws and 2.5-inch long decking screws
- Power drill
- Metal clippers
- L-Brackets
- Saw
Instructions:
- First, measure and plan where you are going to place the trellis. Depending on the size of your remesh, you may want to adjust the length or height.
- Next, construct the wood frame. Leave two of the 8-foot poles as is and then cut the other two in half so they measure a length of 4 feet. Place three of the 4-foot 2x2s in the middle of the 8-foot poles. One should be connecting corners at the top, one in the middle and one close to the end, leaving about 1-foot of wood at the bottom. This should look like a wide ladder. Don’t attach anything quite yet.
- Place the remesh on top of the loose frame to get an idea of what you need to adjust and how it will look when you’re finished. Once you have a solid idea, begin attaching the frame.
- Attach the frame together by screwing in metal L-brackets at each corner. Once the frame is together, connect the wire mesh.
- Keep the wooden frame on a flat surface and connect the remesh by using wide-head screws or by hammering in poultry net staples (either one will work). Be sure to screw in the corners of each side first to help stabilize it. When using screws, screw at an angle so you’re pinching the wire to the wood with the head of the screw. Add screws every foot and across the support beams.
- Once the remesh is attached, install your trellis. Use two stakes and drive them at least 1-foot into the ground and then attach the trellis by using a hose clamp. You’ll need to use a screwdriver or drill to tighten the clamp, attaching the trellis to the stakes. Now you have a beautiful space for your plants to flourish and grow!
These 7 DIY garden projects will help create that beautiful garden you’ve always dreamed of. Each build will differ in the amount of time it takes but, for the most part, one project could be completed in less than two days. If you don’t have the tools needed for the projects you can always ask friends, visit a tool library if there’s one nearby or purchase great tools for a good price at a pawn shop.
It’s always important to wear safety gear when working with heavy machinery, so be sure to pick up some goggles, a dust mask, cut resistant gloves, steel toe boots, hearing protection and a first-aid kit. Once you’ve created your very own garden space, get outside, play in the dirt and enjoy your bountiful harvest!


