- 1. Benefits of Making Your Own Sleeping Bag
- 2. Materials Needed
- 2.1. Insulation
- 2.2. Shell Fabric
- 2.3. Lining Fabric
- 2.4. Additional Features
- 3. How to Make a DIY Sleeping Bag
- 3.1. Materials Needed:
- 3.2. Instructions:
- 4. DIY Dog-Friendly Sleeping Bag
- 4.1. Materials
- 4.2. Insulation
- 4.3. Size
- 5. Additional Resources
DIY Sleeping Bags
Table of Contents [Show]
Imagine yourself deep in the wilderness, surrounded by nature's finest offerings. The stars twinkle above, the sounds of nocturnal animals fill the air and the soothing crackle of a campfire provides a sense of peace and security. As you settle in for the night, you realize that the only thing standing between you and the cool, damp earth is your trusty sleeping bag.
Sleeping bags are a necessity for any overnight camping trip. Whether you are hiking through the woods or backpacking in the mountains, you’ll want something to snuggle into and keep you warm when you return to camp at night. While there are many sleeping bag options out on the market today, finding the perfect one for your needs can be a difficult task. Not to mention that finding a good sleeping bag under a hundred dollars is almost impossible.
Fear not, a DIY sleeping bag is not only an option, but it’s an exciting and rewarding project that can provide you with a customized and cost-effective product. Read on to learn about the process of making your own DIY sleeping bag and get tips on how to create a sleeping bag for your furry camping companion.
Benefits of Making Your Own Sleeping Bag
Making your own sleeping bag has a number of advantages beyond just the satisfaction of creating something with your own hands. Here are some of the benefits of making your own sleeping bag:
- Cost Savings: One of the biggest advantages of making your own sleeping bag is the cost savings. Buying a high-quality sleeping bag can be expensive – as much as $500 or more – and making your own can save you a lot of money.
- Customization: When you make your own sleeping bag, you can customize it to your exact specifications. You can choose the materials, size, shape, and temperature rating that best suits your needs.
- Fun and Satisfaction: Making your own sleeping bag can be a fun and rewarding project. It's a great way to challenge yourself and learn new skills. And when you're finished, you'll have a high-quality sleeping bag that you can be proud of.
- Sustainability: By making your own sleeping bag, you can choose sustainable materials and reduce your environmental impact. You can also repair your sleeping bag when it gets damaged, rather than throwing it away and buying a new one.
Materials Needed
When it comes to the materials used in a sleeping bag, there are several factors to consider – including the type of insulation, shell and liner fabric, and any additional features desired.
Insulation
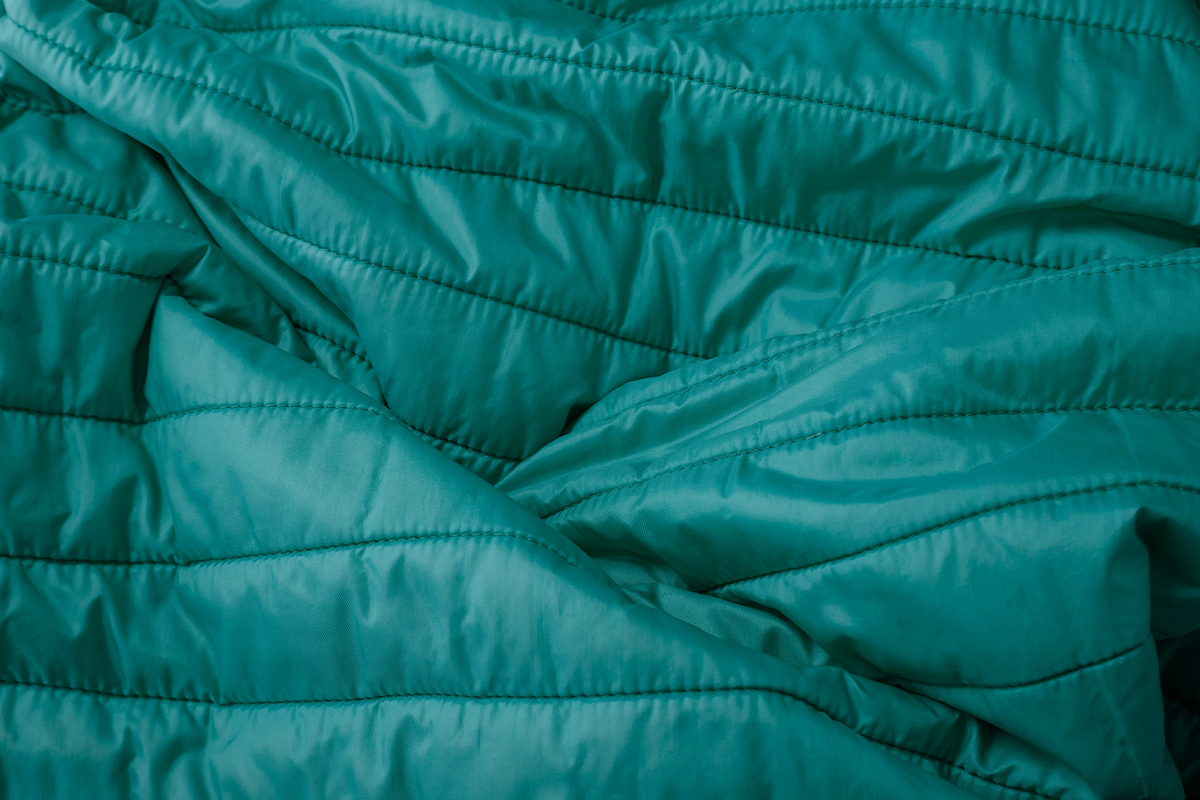
For the insulation, there are two main options – down and synthetic. Down insulation is made from the soft, fluffy clusters found under the feathers of geese and ducks. Down is known for its excellent warmth-to-weight ratio and compressibility. Synthetic insulation, on the other hand, is made from man-made fibers and is typically less expensive and easier to care for than down.
Shell Fabric
The shell fabric of a sleeping bag is the outermost layer, which provides protection from the elements and should be able to withstand wear and tear. Common options for shell fabric include nylon, polyester and ripstop fabric. Nylon is a lightweight and durable option, while polyester is often more affordable and easier to care for. Ripstop fabric is a type of nylon or polyester that has been woven with reinforcement threads, making it more resistant to tearing.
When selecting a shell fabric, it's important to consider the denier (D) rating, which refers to the thickness of the individual threads that make up the fabric. A higher denier rating typically means a stronger and more durable fabric, but also means a heavier weight.
The amount of shell fabric you'll need will depend on the size of the sleeping bag you want to make. As a general guideline, you'll need at least 5 yards of 60-inch wide fabric for an adult sleeping bag, 3 yards for a child-sized sleeping bag, and 2 yards for a dog sleeping bag.
Lining Fabric
The lining of your sleeping bag serves several purposes. It is what your body will be snuggling into, it helps keep the insulation in place and it is an extra layer of protection and warmth. A good choice for your sleeping bag liner is a taffeta nylon fabric. Taffeta nylon is thin, incredibly soft and breathable fabric yet it provides wind and water resistance and prevents leakage of natural down or synthetic insulation.
Additional Features
In terms of additional features, many sleeping bags are made with a water-resistant coating to help keep moisture out, as well as draft tubes and collars to help trap in heat. Some sleeping bags also come with hoods to provide extra warmth for your head.

How to Make a DIY Sleeping Bag
Making your own sleeping bag can be a rewarding and cost-effective way to stay warm on camping trips or at home. Here are some step-by-step instructions for making a simple DIY sleeping bag, along with dimensions for different sizes.
Materials Needed:
- Fabric (for the outer shell and lining)
- Insulation (down or synthetic)
- Sewing machine
- Thread – durable polyester thread is recommended
- Scissors
- Measuring tape
Instructions:
- Choose the type of sleeping bag you want to make (mummy, rectangular, or semi-rectangular) and determine the dimensions you need. Here are some sample dimensions for different sizes:
- Adult (mummy): 72 in x 26 in (183 cm x 66 cm) at the widest point, tapering to 20 in (51 cm) at the foot end.
- Adult (rectangular): 80 in x 34 in (203 cm x 86 cm)
- Child: 60 in x 22 in (152 cm x 56 cm)
- Dog: Measure your dog's length and add 6 inches (15 cm) for a small dog or 12 inches (30 cm) for a large dog.
- Cut two pieces of outer shell fabric and two pieces of lining fabric to the desired size.
- Cut two pieces of insulation to the same size as the outer shell and lining pieces.
- Lay one piece of outer shell fabric right side up on a flat surface. Place one piece of insulation on top of the fabric, followed by one piece of lining fabric right side down. Pin the layers together.
- Sew around the edges of the pinned layers, leaving an opening for turning the fabric right side out.
- Turn the fabric right side out and sew the opening closed.
- Repeat steps 4-6 with the remaining pieces of fabric and insulation.
- Place one sewn piece of fabric on top of the other, with the outer shell fabrics facing each other. Pin the layers together.
- Sew around the edges of the pinned layers, leaving an opening for turning the bag right side out.
- Turn the bag right side out and sew the opening closed.
- To create a mummy-style sleeping bag, sew a straight line down the middle of the bag from the top to the bottom, creating two "legs." This will help keep the insulation in place.
- To create a hood, cut a piece of outer shell fabric and insulation to the desired size and shape, and sew it to the top of the sleeping bag.
- Add a zipper or buttons to the side of the bag to create an opening for getting in and out.
DIY Dog-Friendly Sleeping Bag
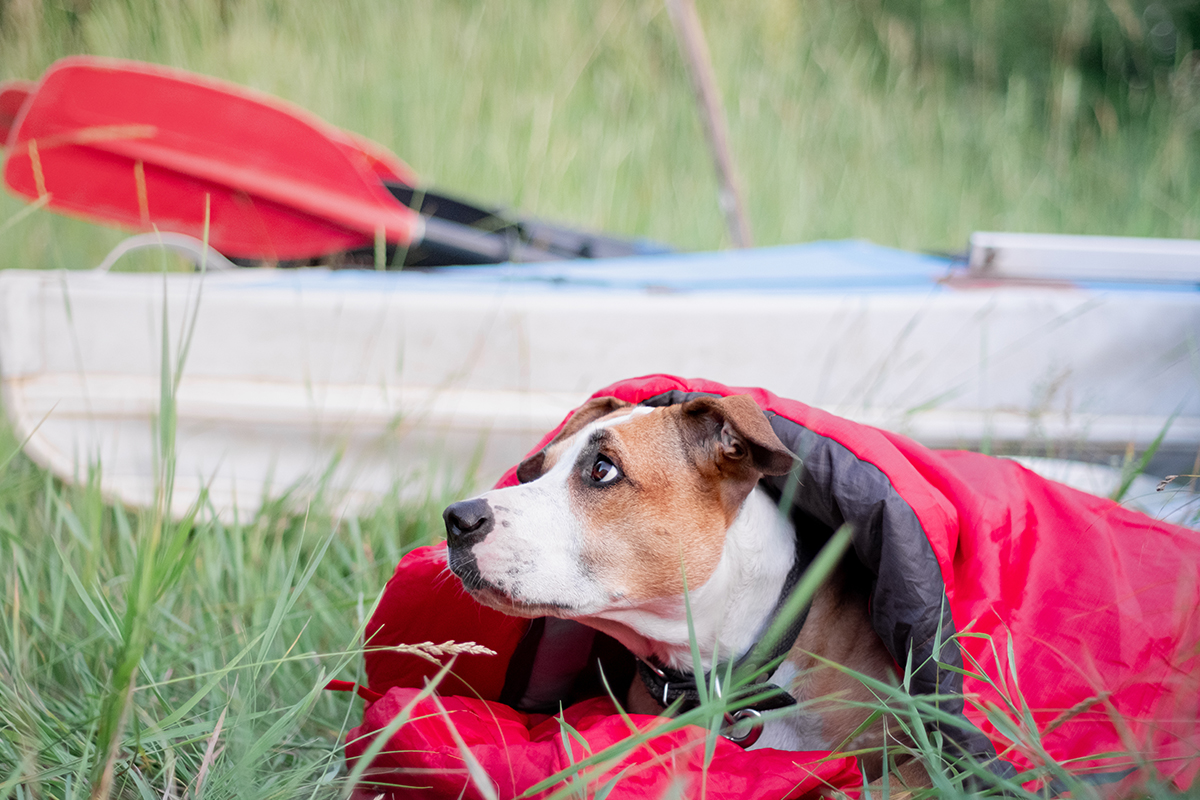
When it comes to making a sleeping bag for your furry friend, you'll want to consider the same factors as when making a human sleeping bag: warmth, comfort, and durability.
Materials
In terms of materials, you’ll want to choose a warm and durable material that can withstand the rough and tumble play of your dog. Fleece and canvas are both great options. For the interior lining, a soft and breathable material like fleece or flannel can keep your dog warm and cozy.
Insulation
When it comes to insulation, there are a few different options to consider. You can use synthetic materials like polyester batting or foam, which are affordable and easy to work with. Or, if you're feeling adventurous, you could even try using natural materials like wool or down.
Size
One important factor to keep in mind is the size of the sleeping bag. Make sure to measure your dog's length from nose to tail, and add a few inches for extra wiggle room. The bag should be big enough for your pup to comfortably curl up inside, but not so big that they're swimming in it.
Important note: be sure to avoid using any materials that could be harmful to your pet. Avoid using any fabric treated with chemicals, and be cautious of materials that your dog might chew or swallow.
Additional Resources
- If you are looking for more detailed, step-by-step instructions on how to create a durable camping sleeping bag, check out this video.
- For sleeping bag fabrics, zippers, insulation, and other accessories, a good resource to try is ripstopbytheroll.com.
Making your own sleeping bag can be incredibly rewarding, not only because it can save you money but it can be customized to your liking. Hand-made items just feel different, especially when you’re the creator. And why not make something truly unique that will keep you warm and cozy for many adventures to come!
Featured image: Luxuriously soft and breathable Dillingr™ Flannel.


