
A Practical Guide on How to Build Tarp Shelters
Table of Contents [Show]
When spending time in the wilderness, it’s vital to protect yourself from the elements, especially heavy rain or harsh sun. And while structured tents may provide solid protection, they’re often heavy and time-consuming to set up.
This is why many people turn to tarp shelters.
Tarp shelters are made specifically for camping and backpacking. They are compact, water-resistant, draftproof, and extremely lightweight, making them a convenient alternative to tents. And compared to tents, tarp shelters require a relatively simple, quick setup. When set up correctly, they typically provide substantial protection from harsh environments. Plus, tarps are more versatile than a structured tent.
Whether you need a tarp shelter to keep your clothes dry, cook your food away from the wind, or escape the sun, learning how to build tarp shelters is an essential piece of knowledge for campers and backpackers who want to travel light.
However, be aware there are some cons to tarp shelters. For example, they don’t protect you from bugs (unless you plan to bring a mesh net with you), and they are often less stable than tents, especially if you are new to setting them up.
So prior to leaving on your trip, make sure you’re fully prepared to use a tarp instead of a tent. It would be wise to practice beforehand to make sure you’re confident in your shelter-building abilities. Once you’ve studied up on everything there is to know about tarp shelter, hit the backyard or the park and get to building!
First, let’s discuss the supplies you’ll need.
Tarp Shelter Supplies
- Tarp — Most tarp shelters are 9-10 feet wide, square-shaped, and weigh only one pound.
- Guylines — These are typically pre-attached to tarp shelters.
- Stakes — These typically come with your tarp and allow you to secure your tarp in place.
- Poles — Many tarps are designed to work with trekking poles, which you will need to provide yourself.
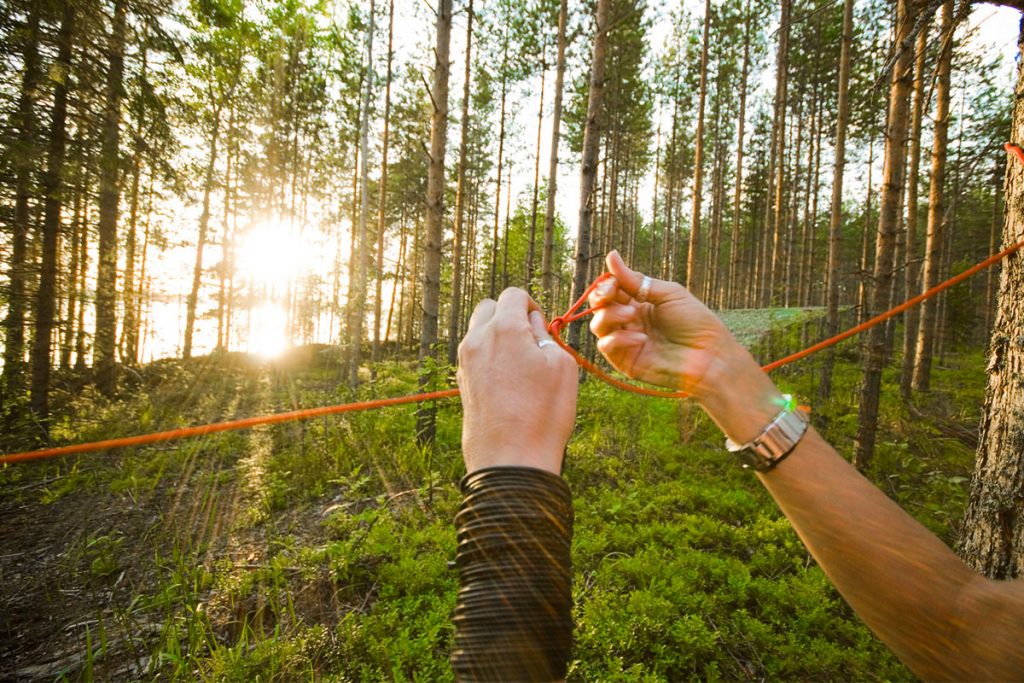
- Paracord — This will allow you to hang your tarp in between trees.
| Note: Know Your Knots Because most configurations rely on paracords, it’s important to know your knots. These are the top three most commonly used knots when it comes to building tarp shelters. Bowline — These are helpful for building anchors and provide a fixed loop at your rope’s end. Trucker’s hitch — These are helpful for increasing or decreasing tension when securing your tarp to a stake or tree. Prusik — This allows you to slide your hitch to adjust the tension and can help you secure edges. |
Must-Know Tarp Shelter Configurations
Now that you’ve got all your gear and know your essential knots, it’s time to learn the most common tarp shelter configurations. Below, we’ve explained some easy setups that will help protect from wind, rain, sun, and can even help provide warmth on cold nights.
Ridgeline Tarp Shelter
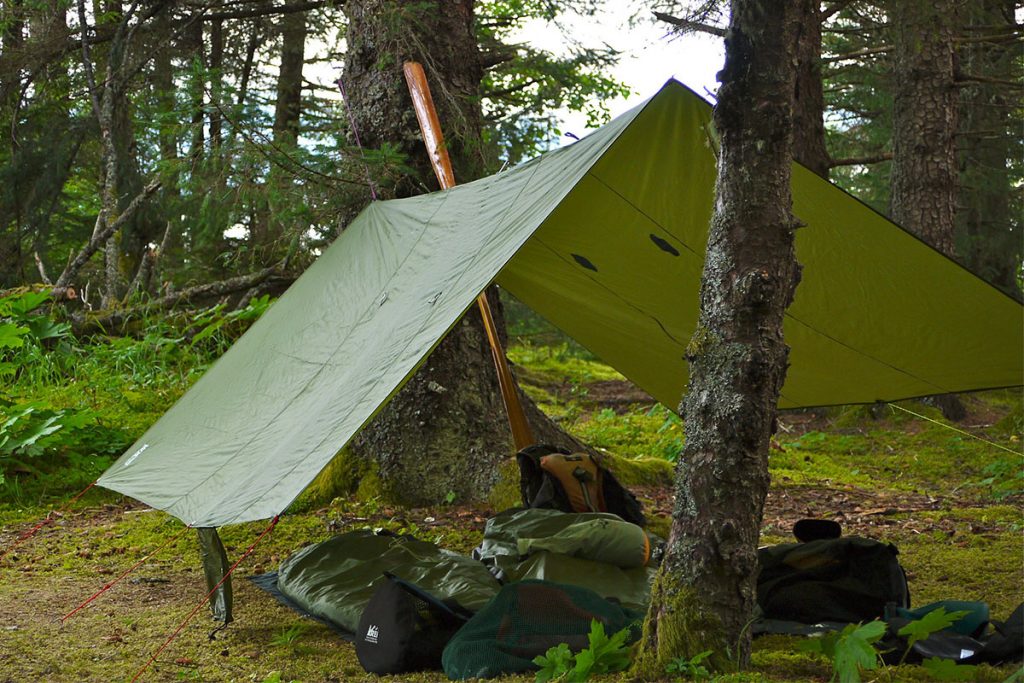
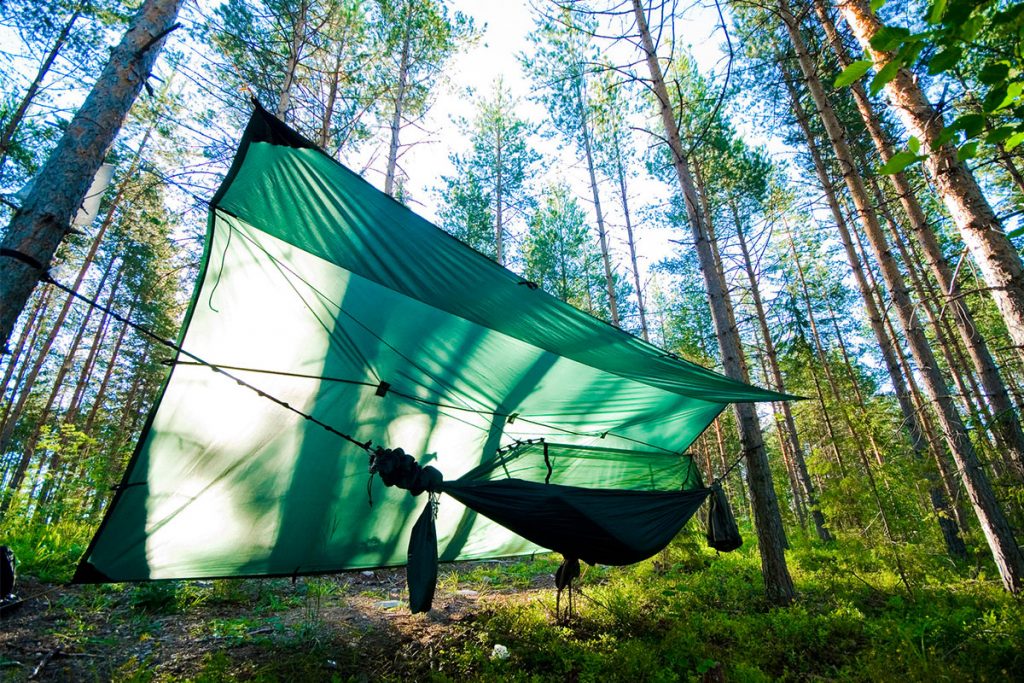
This is one of the most popular configurations and for good reason. It’s easy, practical, and super quick to set up. However, you will need two trees that are relatively close together, so this setup will only work if you have trees available.
Instructions
- String your paracord in between two trees, making sure it’s sturdy and tight to prevent sagging in the middle of the tarp.
- Hang your tarp over the rope. Some tarps will have holes down the middle for the purpose of hanging.
- Pull each floor-side of the tarp out away from the other to create a triangle at the tarp’s roof.
- Use stakes to secure the bottom of the tarp and tighten with the guylines.
- If needed, use trekking poles to hold up the edges of your shelter.
A-Frame Shelter
This is a similar setup to the ridgeline setup but works even if you aren’t surrounded by trees. An A-frame shelter will provide you with substantial protection and use your trekking poles as a frame.
Instructions
- Lay your tarp on the ground, and stake down one side.
- Use your trekking poles to lift the center of the tarp, creating your roof.
- Stake down the other side of the tarp, allowing for tension so the poles remain secure. Adjust as needed.
Tube Tent Shelter
Because the tube tent shelter has a floor, it can be helpful to protect yourself from wet ground, or other uncomfortable terrains. If you don’t have trees and you have adjustable trekking poles, you can use those to stabilize your roof.
Instructions
- String a paracord in between two trees about three feet off the ground.
- Hang the tarp with one-third on one side and two-thirds of the tarp on the other.
- Take the longer side of the tarp, and fold it inward to create your floor. The tarp will be shaped like a small triangle.
- Use stakes to secure the floor of your tarp.
Closed-End A-Frame Set Up
The closed-end A-frame can provide more protection than the standard A-frame because it’s closed at one end. This prevents wind or rain from blowing into your shelter from most directions and will trap in more heat on cold nights.
Instructions
- Stake down one side of the tarp. This will become the back of the tarp.
- Lift the other side of the tarp with your trekking pole. Place the pole in the middle of the tarp, lifting it to create your entrance.
- Stake down the front corners and sides of the tarp.
- Add tension with guylines.
Lean-To Tarp Shelter
This shelter is helpful for protection from one-directional wind and the sun. It requires a very quick setup, but it is very open so it will not protect you from harsh weather. However, it can be helpful in favorable conditions for activities such as cooking or watching the sunset.
Instructions
- Tightly string a paracord between two trees.
- Pull three-fourths of the tarp over one side of the paracord. Stake the tarp to the ground at a tensioned angle.
- The other one-third of the tarp should still hang over the paracord. Use guylines to secure
The Tarp Tent
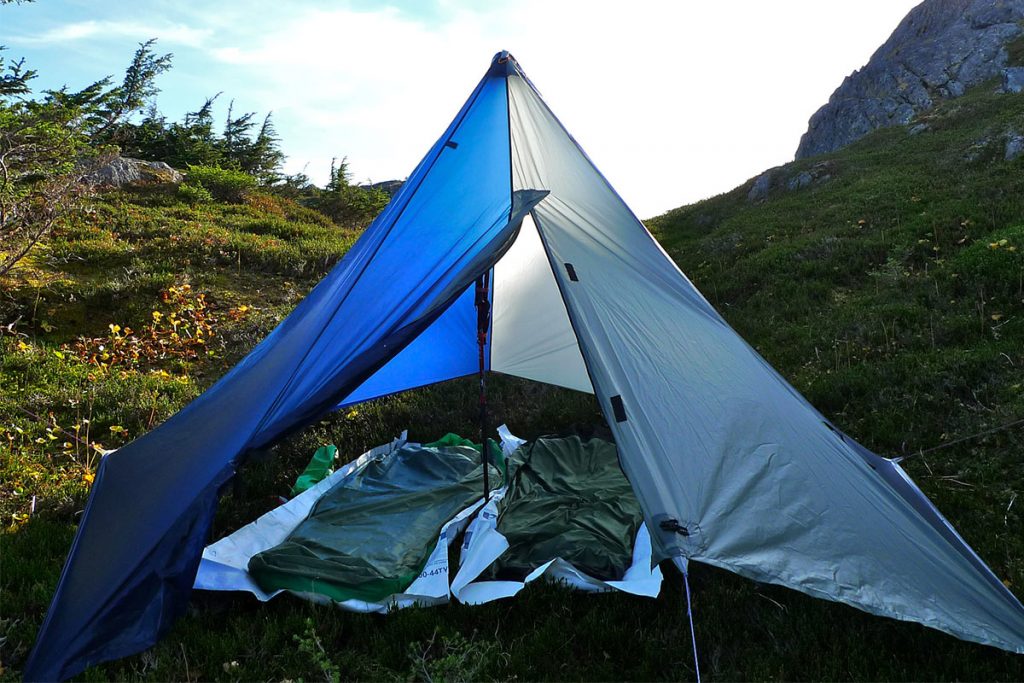
This tarp shelter takes on the shape of a tent and will protect you from inclement weather. However, it’s more difficult to pitch, so you may want to practice at home before planning on this configuration in the wilderness. Grab a partner if you can, as it’s easier to set up with two people.
Instructions
- Stake one side of your tarp to the ground.
- Use your trekking pole to lift the center of the tarp, creating your roof. Make sure your trekking pole is secure. You can use two trekking poles for additional tension.
- Stake down the rest of the tarp in a circle formation, leaving a few feet open for the shelter entrance. It’s best to start with opposing sides of the tarp to create tension.
- Use your guylines to lift and secure the tarp entrance.
The Star Tent
The star tent is relatively easy to set up and will allow you to escape the elements because it is closed on all sides. The star tent setup has no sitting or standing room, so you’ll need to lay down with this setup. It’s best to protect you and your gear from harsh weather.
Instructions
- Stake in three sides of the tarp. If you have tie-outs, place the stakes about three feet away from the tarp.
- Climb underneath the tarp and raise the center with trekking poles, or a sturdy branch.
- The open side of the tarp will be your entrance. Use a pole or branch to raise the center, creating a door. You can also close this side of the tarp by staking it in to provide more protection on nights with intense weather.
How to fold your tarp shelter?
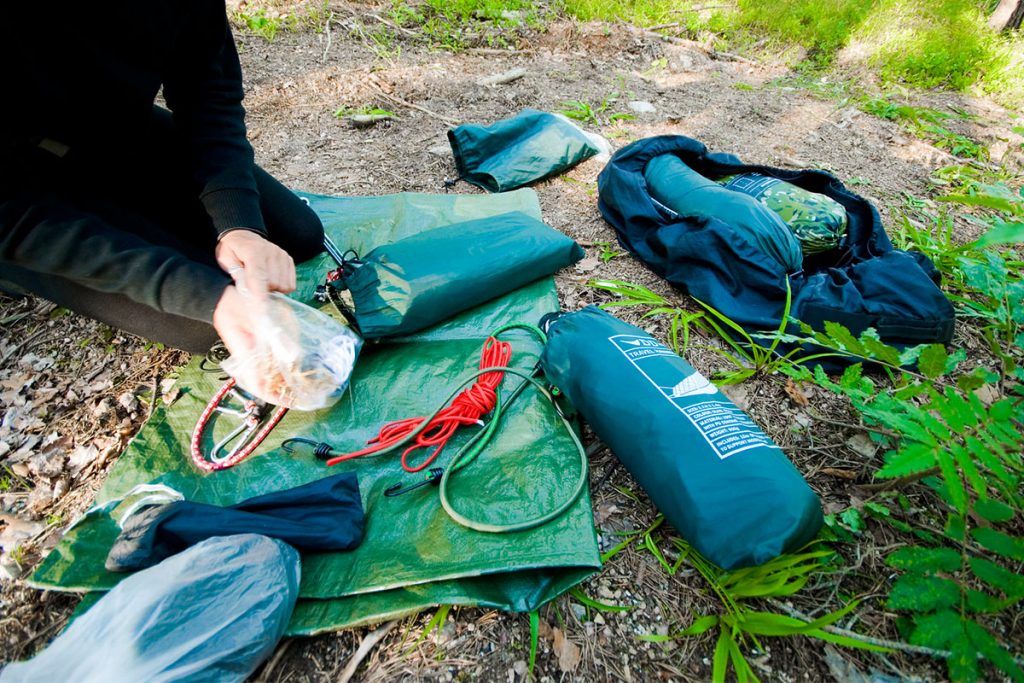
Finished using your tarp shelter? It’s time to put it back in its storage bag. Learning to properly fold your tarp is essential to keeping it compact and convenient.
Here’s one technique for an efficient, neat pack job.
- Lay your tarp flat on the ground and clear off any debris.
- Grab the middle seam from the opposing ends of the tarp.
- Bring the points together in the middle, a couple of feet above the ground.
- Take your free hand and grab the middle part of the tarp that’s on the ground.
- Shake it off and fold it in half until it’s super compact.
Going backpacking?

Planning a backpacking trip? From gathering all your cooking utensils to learning new tarp shelter setups, it can be a lot to remember. But trekking through gorgeous sights in nature makes it all worth it.
Now that you’ve familiarized yourself with some tarp setups, you may be eager to get out there. But keep in mind, if you haven’t worked with tarps before, they can take some getting used to. Take your time, double-check your gear, and most important, practice building your shelter beforehand.
If possible, try teaming up with a friend (bonus if they are more experienced at shelter building). That way, you can make sure you are fully prepared to build for your next adventure.
And when it comes to everything aside else backpacking-related (what clothing to wear, what meals are the easiest, the best cookware, first-aid, etc.) KÜHL has got you covered. We’ve compiled a backpacking checklist so you can be rest assured you’ve got everything you need.
Click here to read Backpacking Checklist: Gear and Tips and other wilderness guides on the KÜHL blog.
Happy camping!
Featured image by Hendrik Morkel.


